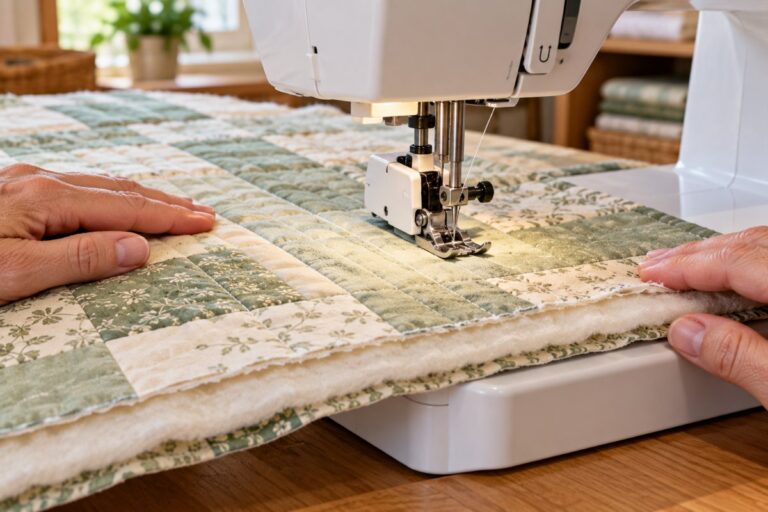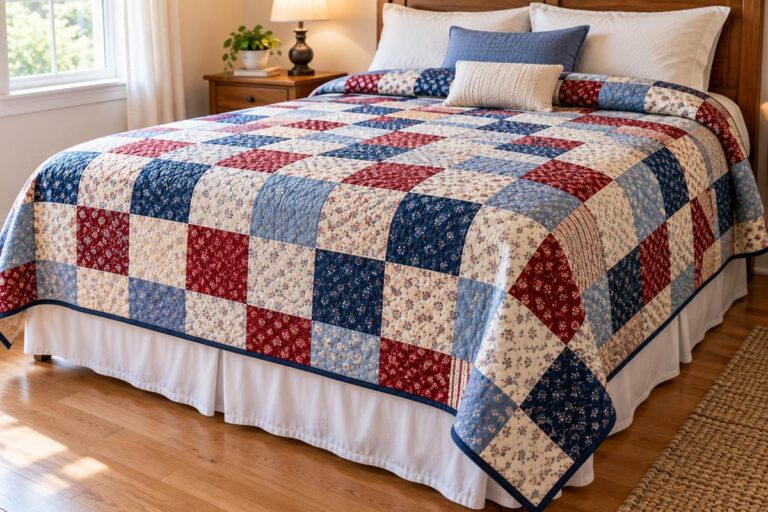
Quilt as you go means you quilt each block, or each section, through its own batting and backing first, then join the finished pieces into one quilt. Instead of pushing a whole bed quilt through a home sewing machine, you quilt only something about the size of a placemat. Once you sew the last seam, the quilt is already quilted.
This guide explains the four main quilt as you go methods, which one to pick for your first try, the sizes to cut, and the mistakes that make blocks shrink or seams turn bulky. The free planner below works out the batting, backing, and joining strips for your layout.
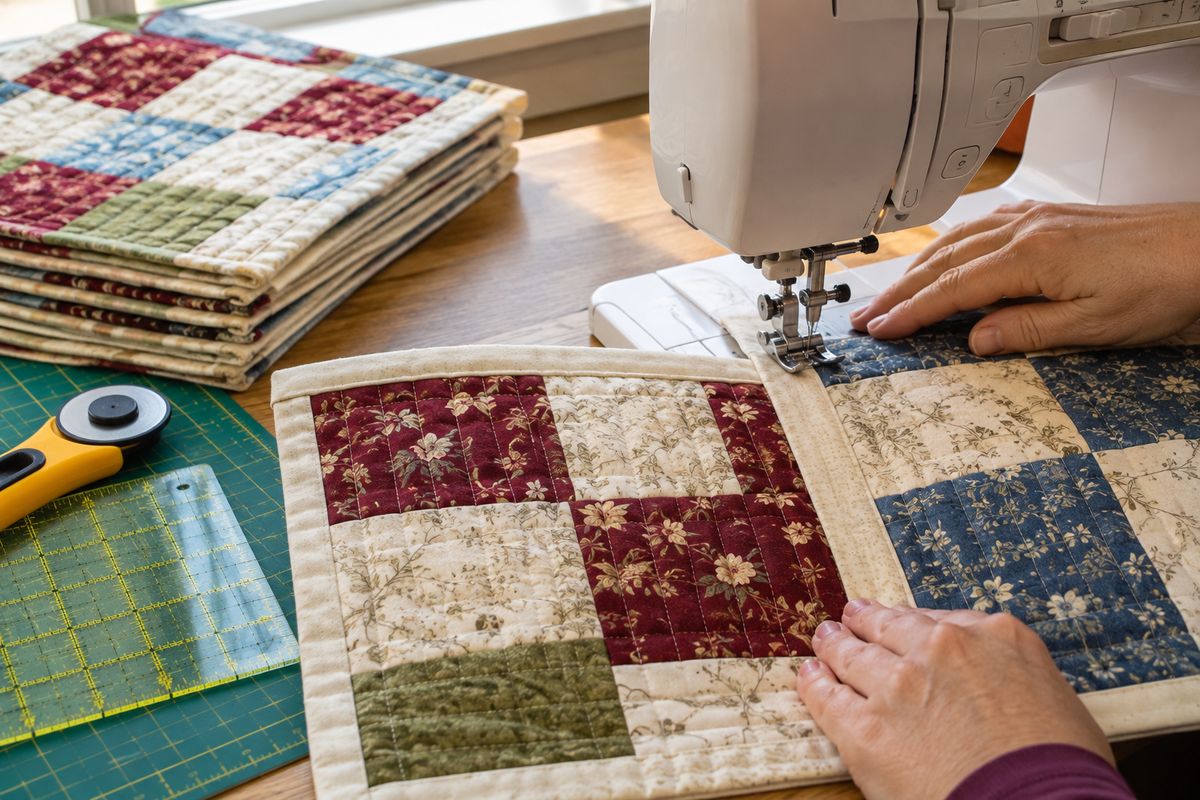
Table of Contents
Quilt As You Go at a Glance
What Is Quilt As You Go?
In a traditional quilt, you finish the whole top, layer it with one big piece of batting and one big backing, then quilt through all of it at once. On a home machine, that means rolling and pushing several pounds of fabric through a throat space that, on many home machines, is only about 6 to 9 inches wide.
Quilt as you go splits that job into small pieces. Each block gets its own small sandwich of top, batting and backing. You quilt it, trim it, and set it aside. Then you join the quilted blocks, either with joining strips or by sewing them directly together. Quilters use it to make large quilts on machines with small throats, to work in short sessions or small spaces, and to make quilts that look good on both sides.
The trade-off is the joins. Every method needs a plan for the place where two quilted blocks meet, and the quilting cannot run across those joins. The four methods below solve that in different ways.
Which Quilt As You Go Method Should You Use?
Each quilt as you go method handles the join between blocks differently. This table shows how they compare, and Craftsy's guide to joining quilt as you go blocks shows more variations.
| Method | Shows on the back | Hand sewing | Bulk at joins | Skill level | Best for |
|---|---|---|---|---|---|
| Two-strip sashing | A narrow strip on both sides | Optional (machine finish works) | Low | Beginner | First QAYG quilts, reversible quilts |
| Block to block | A small join line only | Yes, to close the backing | Lowest | Intermediate | Quilts with no sashing |
| Quilt the top, add one backing | Nothing, one plain backing | No | Low | Beginner | Quilts that need a plain back |
| Stitch and flip on batting | Nothing, if built on one backing | No | Low | Beginner | Strip quilts, pillows, bags, table runners |
For a first project, two-strip sashing is a forgiving choice, because the strips cover every raw edge and hide small differences between blocks. If you want no sashing at all, try the quilt-the-top method on a small project first.
Quilt As You Go Planner
Enter your block size and layout. The planner works out the finished quilt size, how big to cut each piece of batting and backing, and how many joining strips to cut for the two-strip sashing method.
Quilt as you go planner
Sizes are in inches. Strip numbers assume fabric with about 40 inches of usable width.
Estimates only. Make one test join and measure it before cutting all your strips. The sashing method assumes a 1 inch front strip, a 2 inch back strip folded in half and 1/4 inch seams, which leaves about 1/2 inch of sashing showing.
Quilt as you go planner by QuiltGearHQquiltgearhq.com
What You Need
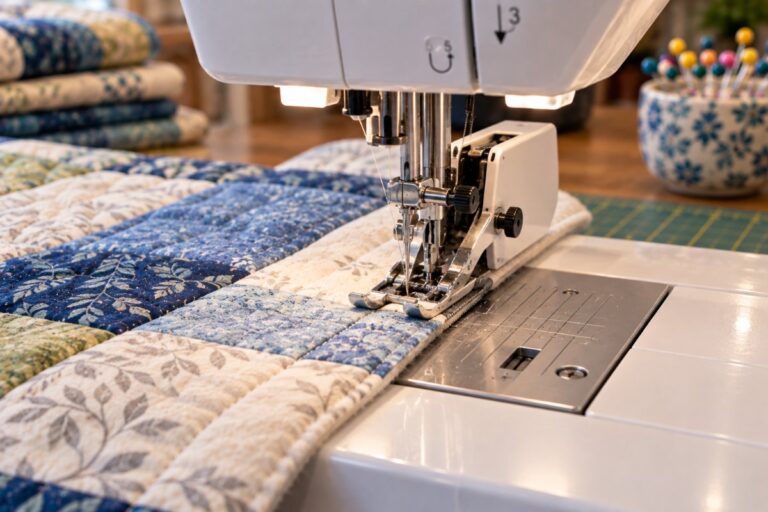 Walking FootFeeds all the layers evenly.
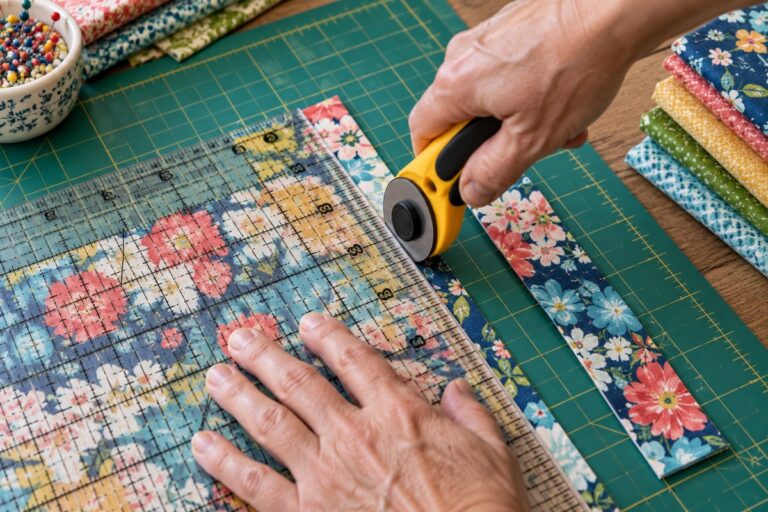 Rotary CutterTrims quilted blocks cleanly.
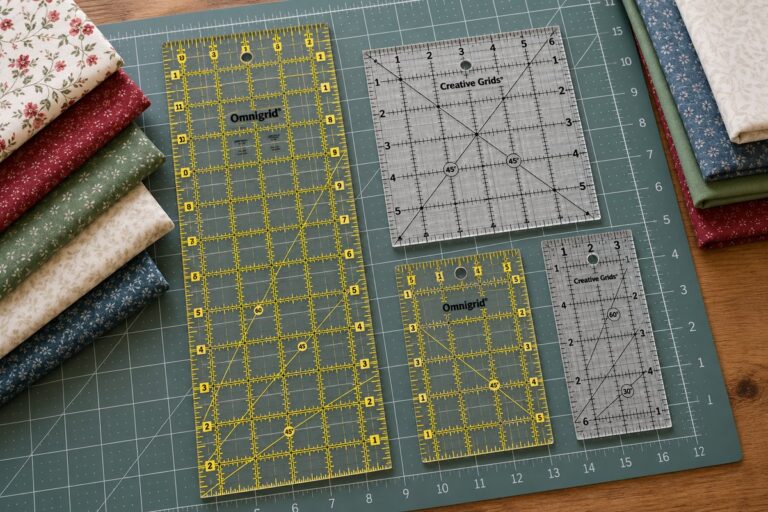 Square RulerTrims every block to one size.
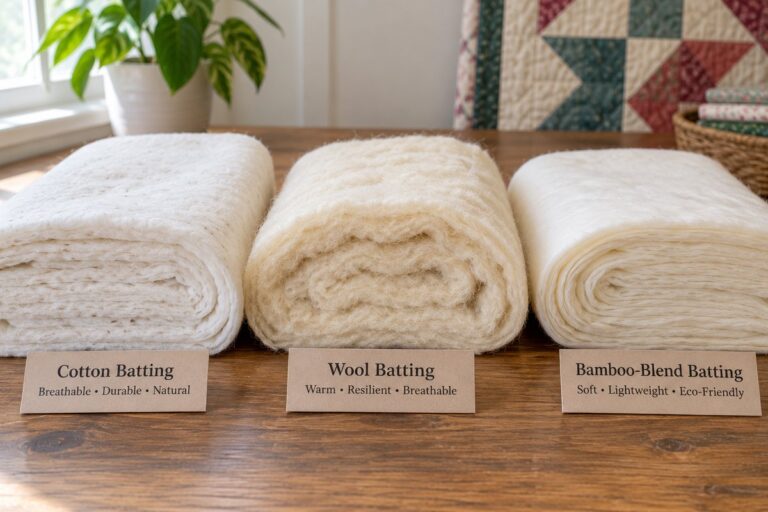 Low Loft BattingKeeps the joins flat.
- A walking foot. It is recommended because it feeds the top, batting, and backing evenly, which helps when you sew through quilted layers. See our walking foot guide.
- A rotary cutter, mat, and square ruler. You will trim every quilted block to the same size. Our guides cover rotary cutters, cutting mats, and quilting rulers.
- Low loft batting. Thin cotton or 80/20 batting keeps joins flat. Our types of quilt batting guide explains the fibers.
- Basting spray or pins. Small sandwiches baste fast with spray. See our basting spray guide.
- An iron and pressing surface. Pressing joining strips flat is half the work.
- Fabric for joining strips. If you plan to use sashing, cut it on the straight grain, lengthwise or crosswise, not on the bias, which stretches.
How to Prepare Quilt As You Go Blocks
Every method starts the same way: make each block into a small quilt sandwich, quilt it, then trim. Getting this step right makes the joining easy.
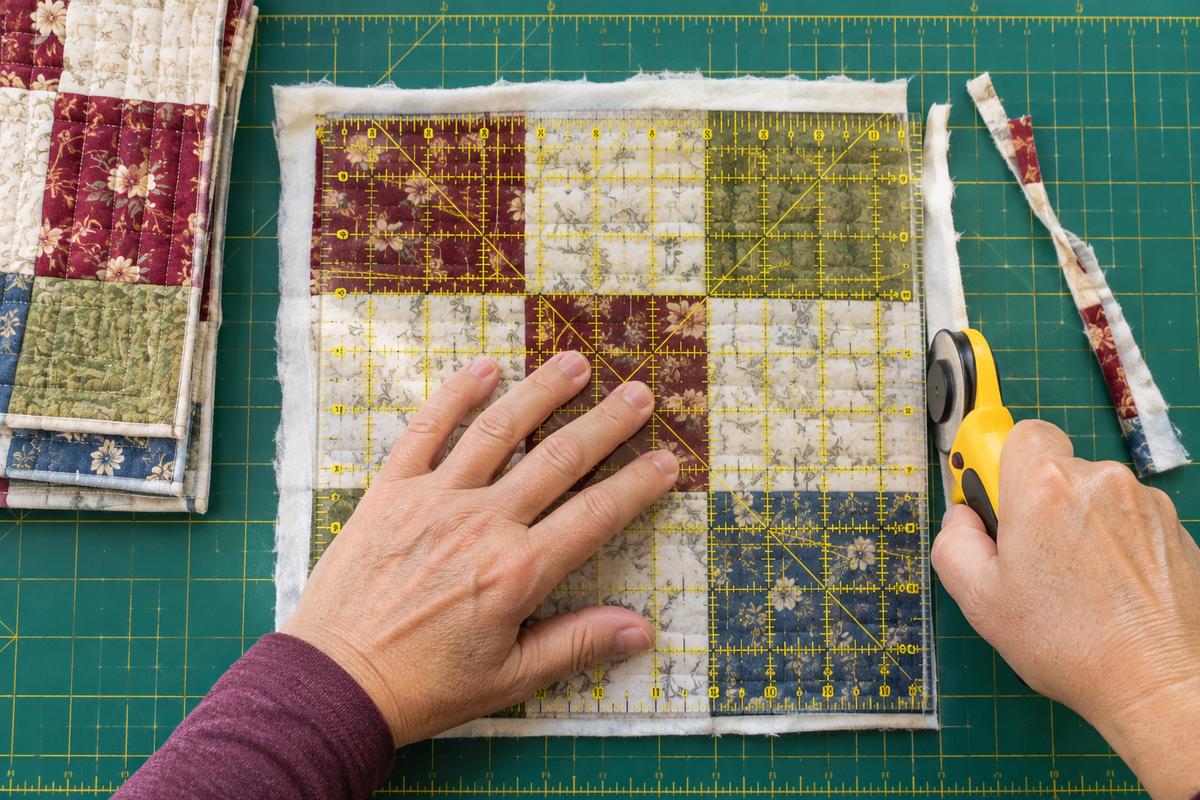
- Cut the batting and backing a little larger than the block. Tutorials vary from the same size as the block to about 1 inch larger on every side. Going about 1 inch larger gives you room to trim the block square after quilting, so it is the safest choice for beginners.
- Baste the small sandwich with spray or a few pins, the same way you would baste a full quilt.
- Quilt the block, but stop short of the edges. Leave about 1/4 inch to 1 inch unquilted around the outside. Leave the wider margin if your joining method needs you to fold the batting and backing out of the way.
- Quilt lightly and evenly. Heavy quilting shrinks a block more than light quilting, so blocks quilted differently end up different sizes.
- Trim every block to the same size. Measure all the quilted blocks and trim them to match the smallest one, using a square ruler. Our guide to squaring up a quilt shows the ruler technique.
- Label the blocks with their row and position before you start joining.
Method 1: Two-Strip Sashing
This is one of the most popular quilt as you go joining methods. A narrow strip goes on the front of the join, and a folded strip goes on the back, so both sides of the quilt show a thin line of sashing and every raw edge is hidden. Common tutorials cut the front strip 1 inch wide and the back strip 1-3/4 or 2 inches wide, then fold it in half.
- Fold the back strip in half lengthwise, wrong sides together, and press.
- Place the front strip on the front of block 1, right sides together, along the right edge. Place the folded back strip on the back of block 1, raw edges matching. Sew through everything with a 1/4-inch seam.
- Press the front strip open, away from block 1.
- Pin or fold the back strip out of the way. Sew the free edge of the front strip to the left edge of block 2, right sides together, with a 1/4-inch seam, through all the layers of block 2.
- Turn the quilt over. Bring the folded back strip across the join so it covers the seam on block 2, and stitch it down by hand with a slip stitch or by machine, stitching in the ditch from the front.
- Repeat until the row is done, then join the rows the same way with strips cut a little longer than the row.
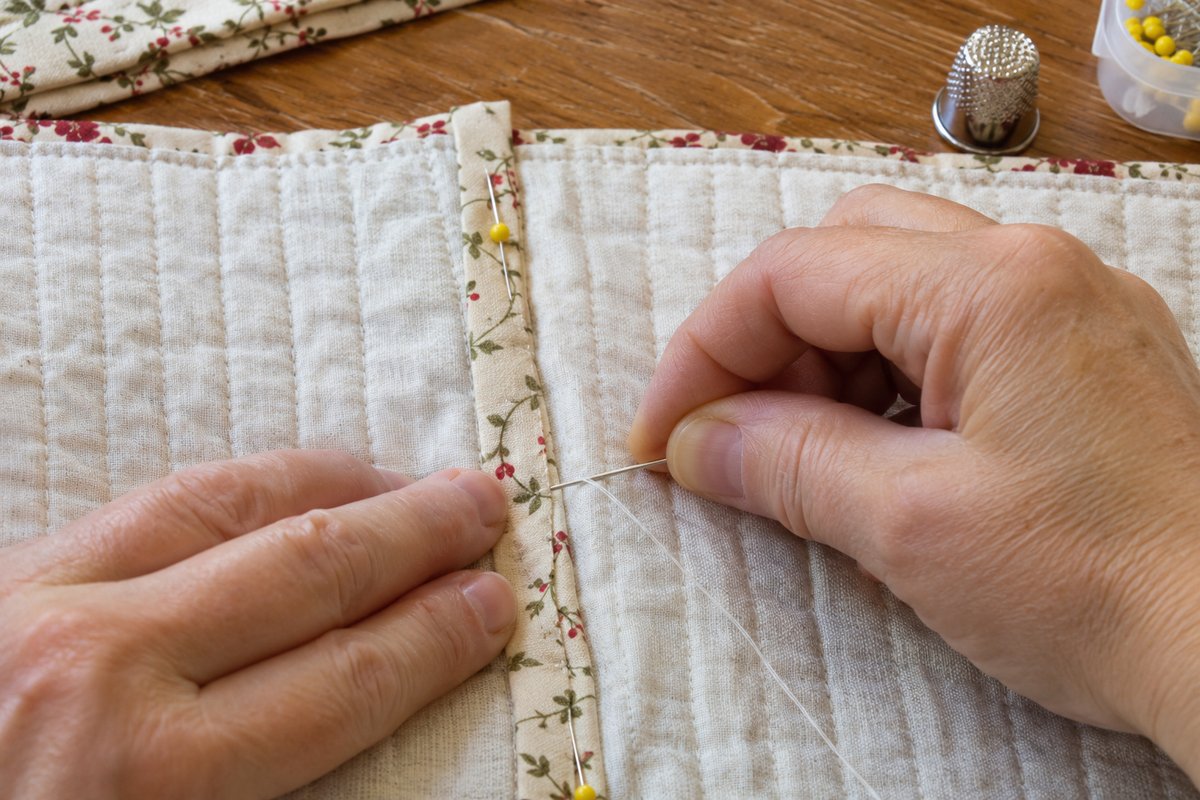
With a 1-inch front strip and two 1/4-inch seams, about 1/2 inch of sashing shows on the front. That is our calculation, so make one test join and measure it before you cut all your strips.
Method 2: Block to Block With No Sashing
This method joins blocks directly, so the front looks like a quilt pieced the regular way. The extra work happens on the back, and the National Quilters Circle video shows the hand finishes up close.
- Leave about 1 inch unquilted around each block, and cut the backing at least 1/2 inch to 1 inch larger than the block so it overlaps.
- Pin the batting and backing of both blocks out of the way and sew the block fronts together with a 1/4-inch seam. Press the seam open.
- Lay the joined blocks face down. Trim the two batting edges so they meet edge to edge without overlapping.
- Fold the edge of one backing under 1/4 inch and lay it over the other backing. Stitch it down by hand.
- Finish the unquilted margins by quilting across them once you've joined all the blocks.
Method 3: Quilt the Top, Then Add One Backing
Some quilters skip the backing on each block. They quilt only the block top and batting, join the blocks with a 1/4-inch seam, press the seams open, then layer the whole top with one backing and tie or lightly quilt it. The back shows no sashing.
Press the joined seams carefully. Polyester batting, or a blend with a polyester scrim, can melt under a hot iron. All cotton batting is the safest choice, and it is worth test-pressing a scrap first.
Method 4: Stitch and Flip on Batting
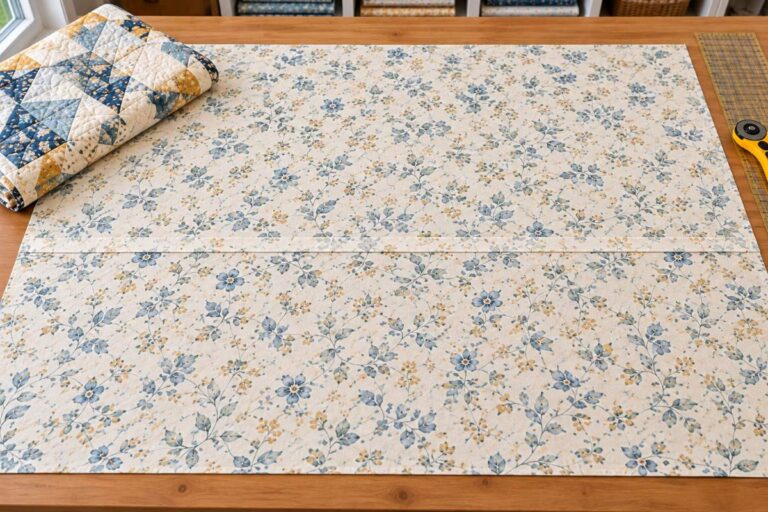
In this version, you piece and quilt at the same time. Cut the batting and backing to your finished size, plus a little extra, and sew fabric strips straight onto them.
- Lay the first strip right side up along one edge of the batting.
- Place the next strip on top, right sides together, and sew through all the layers with a 1/4-inch seam.
- Flip the strip open and press. Each seam you sew is also a line of quilting.
- Keep adding strips, each cut a little longer than needed. Check the back every few strips to keep the backing flat.
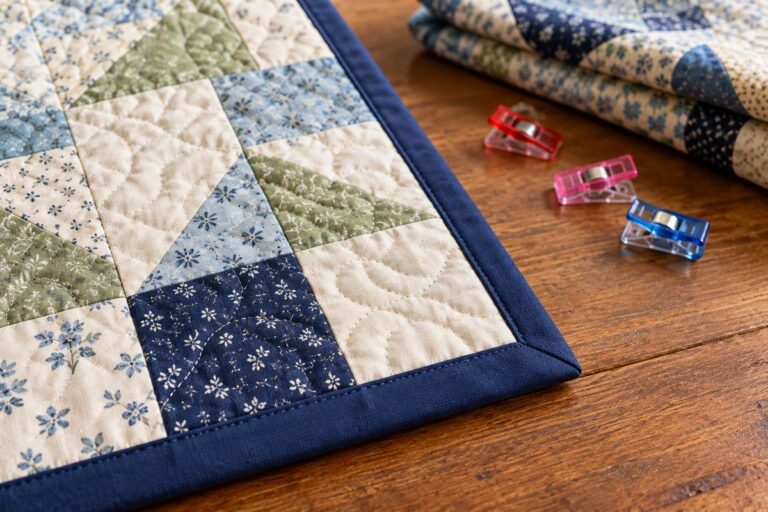
- Square up the panel and bind it, or join several panels for a bigger quilt.
It is a quick way to make table runners, pillows, and bags, and it is how many quilters first try quilting as you go.
How to Join Batting: Zigzag or Fusible Tape
When batting edges need to be joined, such as loose batting pieces you want to use for blocks, or butted edges inside a join, there are two easy options.
- Zigzag stitch, for loose batting pieces. Before you layer and quilt, butt two batting edges together with no overlap and sew over the join with your machine's widest zigzag at a medium length. It works well with cotton and cotton blend batting, but not with fluffy polyester.
- Fusible batting tape. A strip of iron-on tape bridges the join. HeatnBond EZ-Seam, for example, is 1-1/2 inches wide, and its maker says to fuse it on the wool setting with no steam, under a dry pressing cloth, for 10 to 15 seconds. Other brands differ, especially on steam, so follow the label on the tape you buy.
Low loft batting makes every join flatter. Our quilt batting guide compares thin cotton and blend options.
Common Quilt As You Go Mistakes
| Problem | Why it happens | Fix |
|---|---|---|
| Blocks end up different sizes | Uneven quilting or seam allowances | Quilt all blocks with the same density, then trim every block to the smallest one |
| No room to join the blocks | Quilting ran right to the edges | Leave about 1/4 inch to 1 inch unquilted around each block |
| Bulky, stiff joins | High loft batting or overlapping batting | Use low loft batting, butt the edges, press seams open, and trim seam allowances |
| Wavy sashing strips | Strips cut on the bias stretch | Cut joining strips on the straight grain, not the bias |
| Rows do not line up | Blocks joined in random order | Label each block and join blocks into rows first, then rows |
| Strip panel comes up short | Strips cut to the exact length | Cut strips a little longer than needed and trim after |
Quilt As You Go: Pros and Cons
| Pros | Cons |
|---|---|
| Big quilts fit through a small machine | Joins need extra steps |
| Less pushing and pulling of a heavy quilt | Quilting cannot run across the joins |
| Easy to work in short sessions or small spaces | Sashing shows unless you hand stitch or add one backing |
| Uses up batting scraps | More trimming to keep blocks the same size |
| Can make a quilt that looks good on both sides | Joins can be bulkier than a single quilted layer |
Frequently Asked Questions
Is quilt as you go good for beginners?
Yes. You only quilt small pieces, so the machine work is easier. Two-strip sashing is a forgiving method for a first project.
What batting is best for quilt as you go?
Low loft batting, such as thin 100 percent cotton or an 80/20 cotton and polyester blend. High loft batting makes the joins bulky.
How big should I cut batting for quilt as you go blocks?
Tutorials range from the same size as the block to about 1 inch larger on every side. Cutting about 1 inch larger leaves room to trim the block square after quilting.
Can you quilt as you go without sashing?
Yes. Join blocks directly and finish the backing by hand, or quilt only the top and batting, join the blocks, and add one backing at the end.
Do you need a walking foot for quilting as you go?
It is recommended. A walking foot feeds all the layers evenly, which helps keep joins straight when you sew through quilted blocks. Some quilters manage with a regular 1/4-inch foot and lighter presser foot pressure.
Can I join quilt as you go blocks by machine only?
Yes. You can finish two-strip sashing by stitching in the ditch from the front, and the quilt-the-top method needs no hand sewing at all.
Where to Go Next
If you have not made a quilt before, start with our how to make a quilt guide, then come back to quilt as you go for your second project. When the blocks are joined, our guides to squaring up a quilt and binding a quilt finish the job, and our quilt size chart helps you plan how many blocks you need.
More quilting guides